

Ingredients and supplies: Maple Syrup (12oz), butter (1/4 tablespoon), deep pan, wooden spoon, candy thermometer, molds to pour the syrup into to make candy!
Notes before starting:
 -We used a 12oz bottle of syrup, and it made a whole bunch of candy (a little of this goes a long way, it's pretty much pure sugar). You have to use real maple syrup for this, so we got the cheapest real syrup possible in case it ended in disaster. I'm pretty sure the quality of the syrup doesn't matter, since you are essentially destroying the syrup and just taking the sugar from it.
 -The pan should be deep, because the syrup will bubble up. In the event you overcook it, there is widespread internet rumor that maple syrup at a rolling boil will pretty much explode all over and be a disaster.
-After looking at many recipes online, I chose 240 degrees F as the average heat to achieve. If you go too far over this, you will get the maple syrup boiling chaos described above.
-The butter is optional, but is supposed to keep the bubbling down while heating the maple syrup
-Do Not Stir While Heating!! Maple sugar likes to crystallize when agitated (especially when hot), and you don't want this to occur before you've boiled out as much liquid as possible.
-A candy thermometer is like a regular thermometer that goes to 300+ degrees F
-We put aluminum foil around cookie cutters to make molds the first time we did this, and it worked alright. The second time I used an actual maple leaf mold.
-Wooden spoons, according to Amy, help keep flavors good. This might be superstition or witchcraft.
-'Witchcraft' has five consecutive consonants in it; pretty awesome.
Directions:
1) Pour the maple syrup into a deep pan. Melt and add a small bit of butter (we used 12 oz of syrup and about 1/4 tablespoon of butter), and gently mix the butter in. Put your molds somewhere accessible.
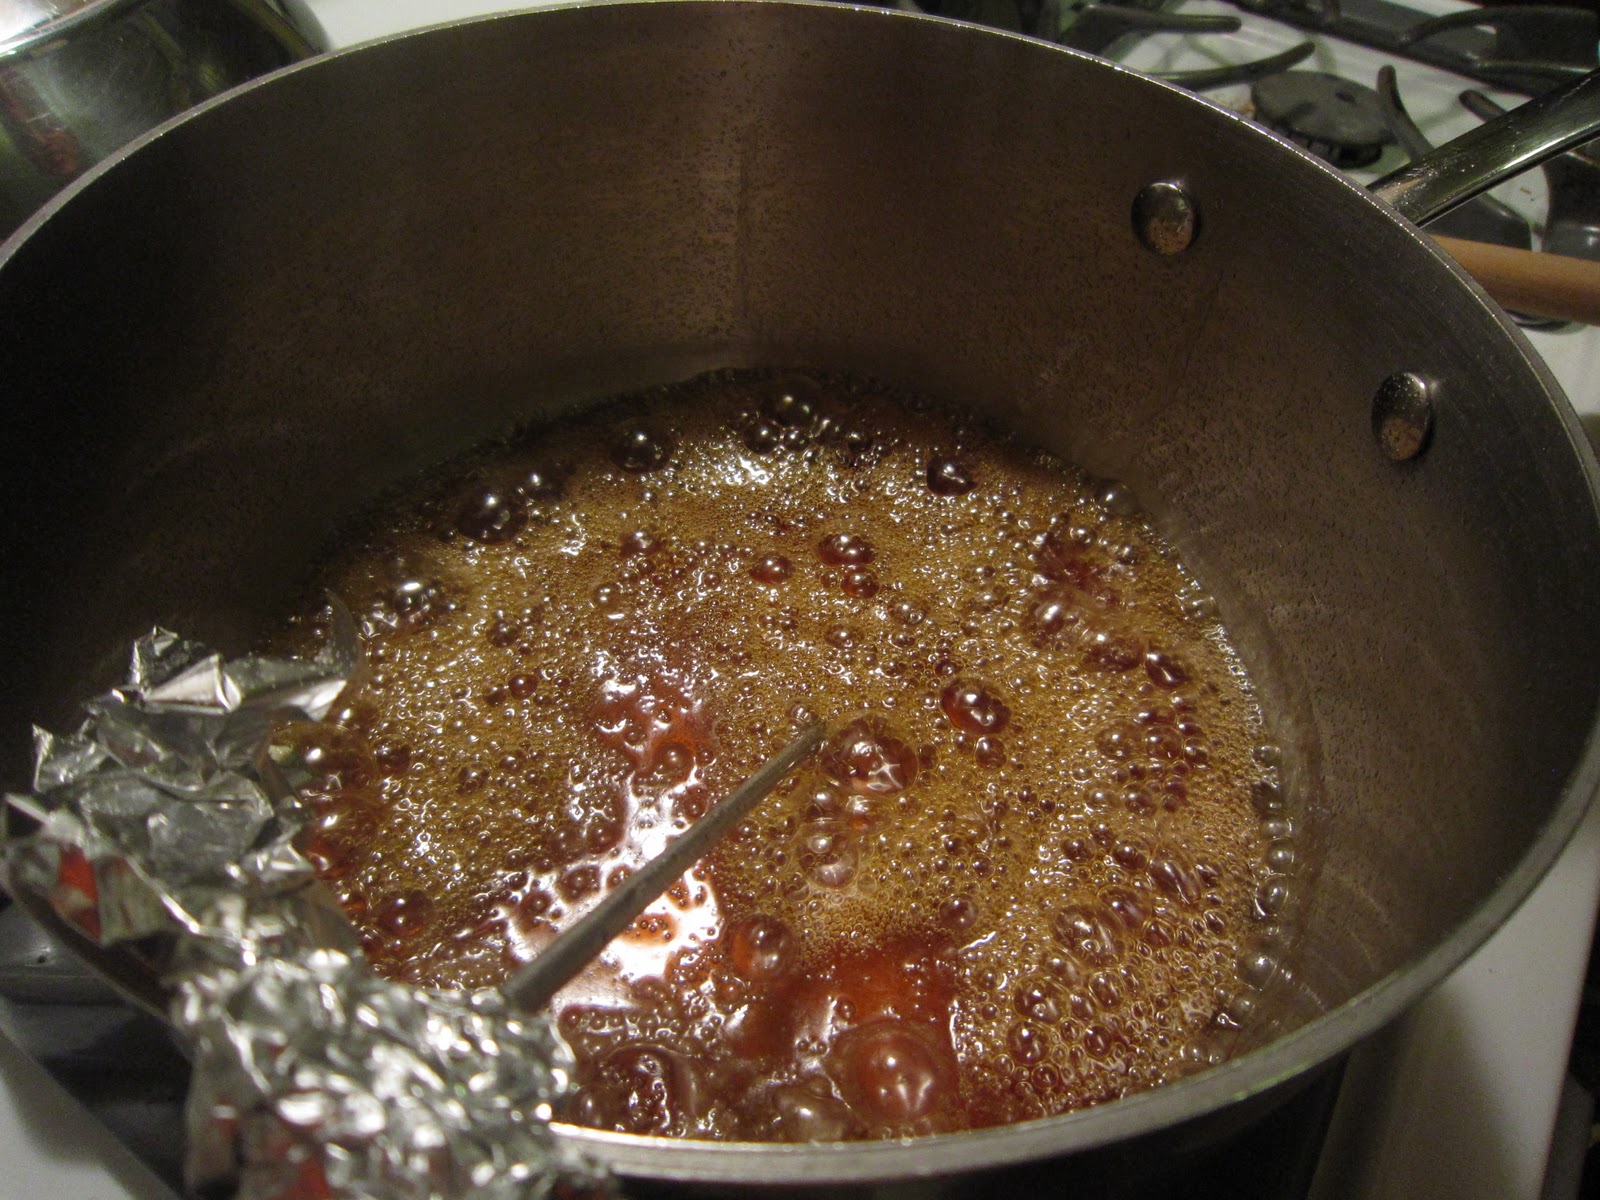
 2) Put the candy thermometer into the syrup, and begin heating (slowly!). The thermometer should not touch the bottom of the pan. Once heating, do not mix/stir/bug the syrup.
3) While cooking, you will run into multiple heating plateaus, when the syrups starts bubbling a lot but does not get any hotter. Be patient, and when the bubbles start to go away, you'll see the heat increasing again. (this is because maple syrup is not an azeotrope ).


No comments:
Post a Comment